Infrared heating is modern, efficient, and a great alternative for those wanting to adopt a greener lifestyle – but once you’ve done that research and are ready to buy, you might be wondering what exactly goes into the installation process. Maybe you expect to have to organise professional callouts or spend hours scouring the internet for tutorials. The answer is no: infrared panels are amongst the simplest electric heating solutions to set up. Minimum DIY knowledge is enough to get the job accomplished in minutes and provide your home or commercial property with all-day radiant heat. So, let’s take a look at all the things you need to know about installing infrared heating panels.
Before you start
- Ensure you have a stepladder, drill and screwdriver on hand, plus a pencil for the template.
- Choose an appropriate location to install your infrared panel. Panels must not be installed directly below a socket and no closer than 200mm away. It’s also not safe to mount the panel near curtains or other combustible materials. As a rule, infrared panels need their own space to do their thing.
- Remove the protective films from the back and front of the panel, as covering the panel when it’s turned on poses a fire hazard.
Wall installation
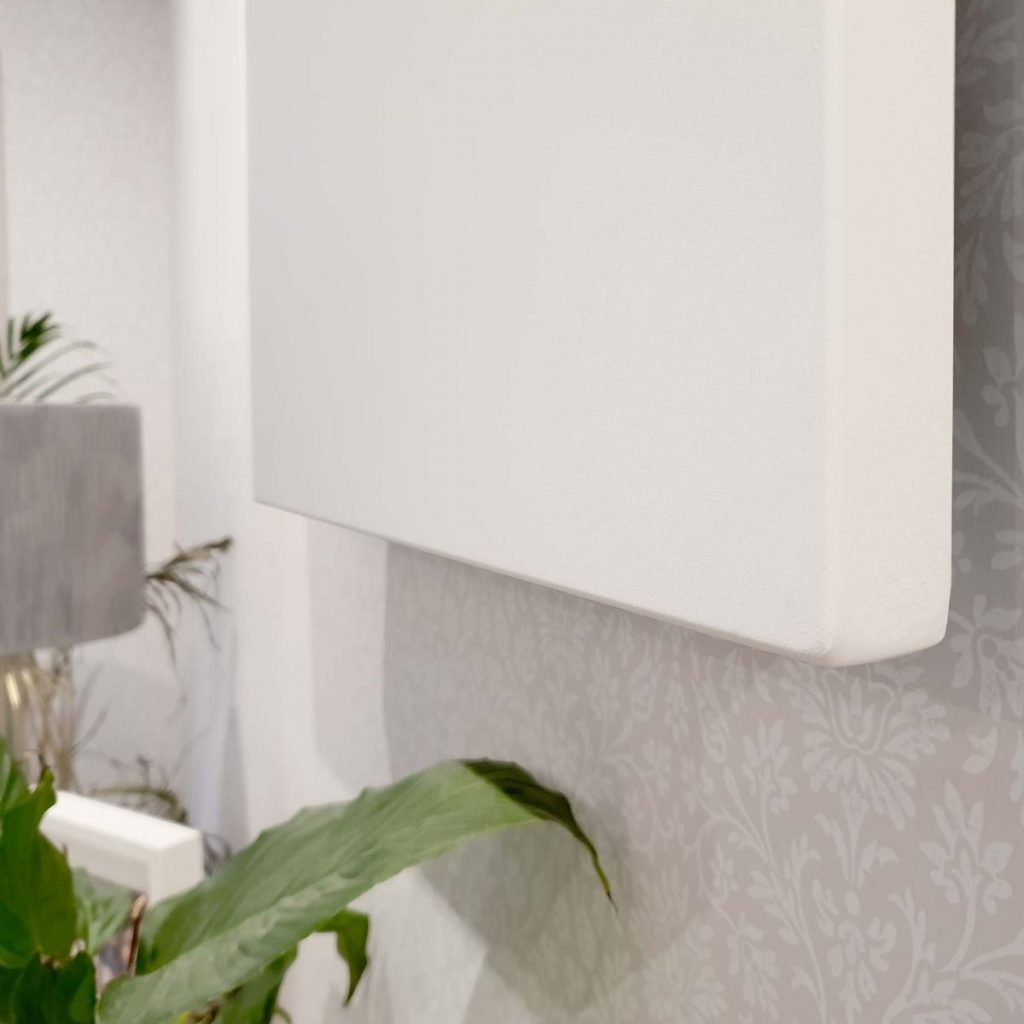
Wall panels are so versatile because of how much they can range in both style and purpose. A glass or aluminium body is discreet enough to blend in with any décor, and a mirrored option adds dual practicality to any bathroom. For wall panels, expect to find screws, wall plugs, and a drilling template included with your purchase.
Is wall installation DIY-friendly?
Yes. Most of our infrared wall panels are suitable for plug & go installation. Simply mount the panel using the brackets provided and plug it into an ordinary 13amp socket – mounting wall panels is as easy as fitting a picture frame or TV and just as quick.
For safety reasons, installation in bathrooms do require hardwiring to a fused spur by a qualified electrician. Hardwiring is a good choice if you’d prefer to make your infrared panel a permanent fixture in the room with no visible wiring on show – this is a standard job for a professional and shouldn’t be too pricey.
Will you need to purchase any extras?
No. All relevant fixtures and fittings come included. DIY-friendly infrared panels are pre-fitted with wireless receivers that allow you to control them via smart apps or battery-powered thermostats, so there’s no hidden costs with your purchase.
Ceiling installation
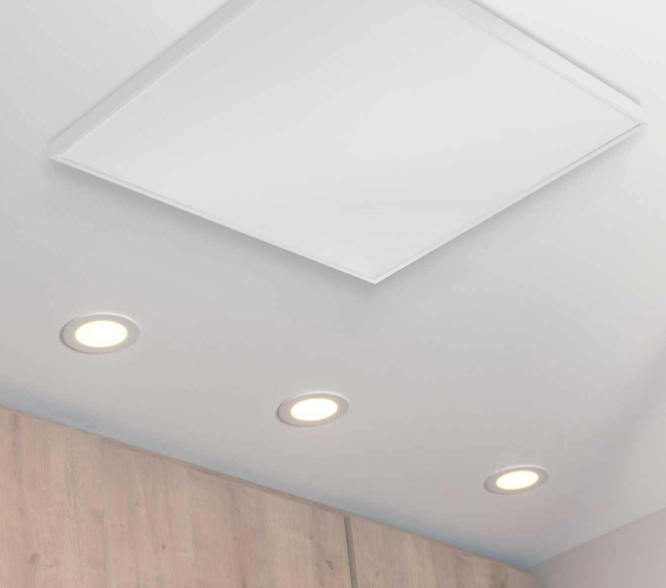
Due to its unhindered location, mounting panels on the ceiling allows for the best heat dispersion. It’s not only a discreet way to heat your property but also keeps wall spaces free. With ceiling installation, infrared heat provides a broad spread of warmth, whilst directing heat downwards to where it’s needed most – making this option great value for money.
Is ceiling installation DIY-friendly?
Yes, mounting kits allow you to do the job yourself. Typically expect to drill four holes into the ceiling to fit your screws and expansion plugs and attach the panel following the manual provided. You may opt for a professional hardwiring if you’d prefer your panels to have a more seamless integration within the room, with no cables or wire on display for a cleaner look.
Will you need to purchase any extras?
Yes, if the room you’re using doesn’t have ceiling grids. If it does, the panel can be slotted into place. You’re more likely to be dealing with drywall or plasterboard if you’re installing the panel at home, however. Accessories like the direct mounting kit or suspension mounting kit are a necessary add-on for our Ecostrad range. The suspension kit allows for height adjustment, which is a fantastic solution for heating rooms with high ceilings.
Freestanding installation

While you’ll find most of the panels we sell are for wall or ceiling installation, the Herschel Select Under Desk has been specifically designed as a freestanding unit to fit discreetly under desks. The Herschel Select is lightweight so has limitless mobility and is the perfect solution to keeping legs and feet warm during those long hours sat down.
Is freestanding installation DIY-friendly?
Definitely – even those with the most rudimentary DIY skills can fit this freestanding panel in minutes. The easiest installation process of the three: position the heater on a flat surface using the feet provided and plug it in the nearest socket. As the Herschel Select is only intended as a supplementary heat source, it can’t be hardwired to the mains.
Will you need to purchase any extras?
No. The Herschel Select comes with all relevant fixtures and fittings included. None of our other ranges are suitable for freestanding installation so you won’t be able to purchase the feet separately.
Product spotlight: Ecostrad Accent & Opus

Across multiple sizes, mounting options and programming possibilities, the Ecostrad Accent & Opus infrared panels are our favourites when it comes to far infrared technology. Providing radiant warmth throughout the day, the Accent and Opus’s visual subtlety is illustrated by their crisp-white finish and slimline design. Versatile enough to suit both domestic and commercial spaces, these heaters work expertly no matter your property’s needs.
The Accent iQ and Opus iQ range offer unparalleled heat management via WiFi app control. Connect your smartphone or tablet and create weekly schedules; regulate start and end times to the exact minute to maximise efficiency and keep costs down. For a handsfree approach, connect to your Amazon Alexa or Google Home and take heat control to the next level. The Accent and Opus remain our bestselling infrared panels for good reason and have models to suit either wall or ceiling installation.
If in doubt, we’re here to help
At Infrared Heaters Direct, we value transparency; that’s why all of our products have their installation manuals and extras listed on our website to help you make an informed decision when choosing the best infrared panel for you. Browse our full range or take a closer look at our DIY-install infrared panels. Our expert sales team are available to answer any and all of your questions, so don’t hesitate to get in touch.